
 It’s spring!
Spring is the season which turns everyone’s thoughts to…home projects! (Even saying it just gets me excited.) My needs are simple. 🙂
So anyway, this reminded me that I’d never shared with you my camouflage shelves I made for the shop.
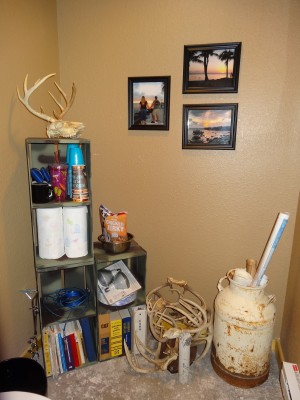
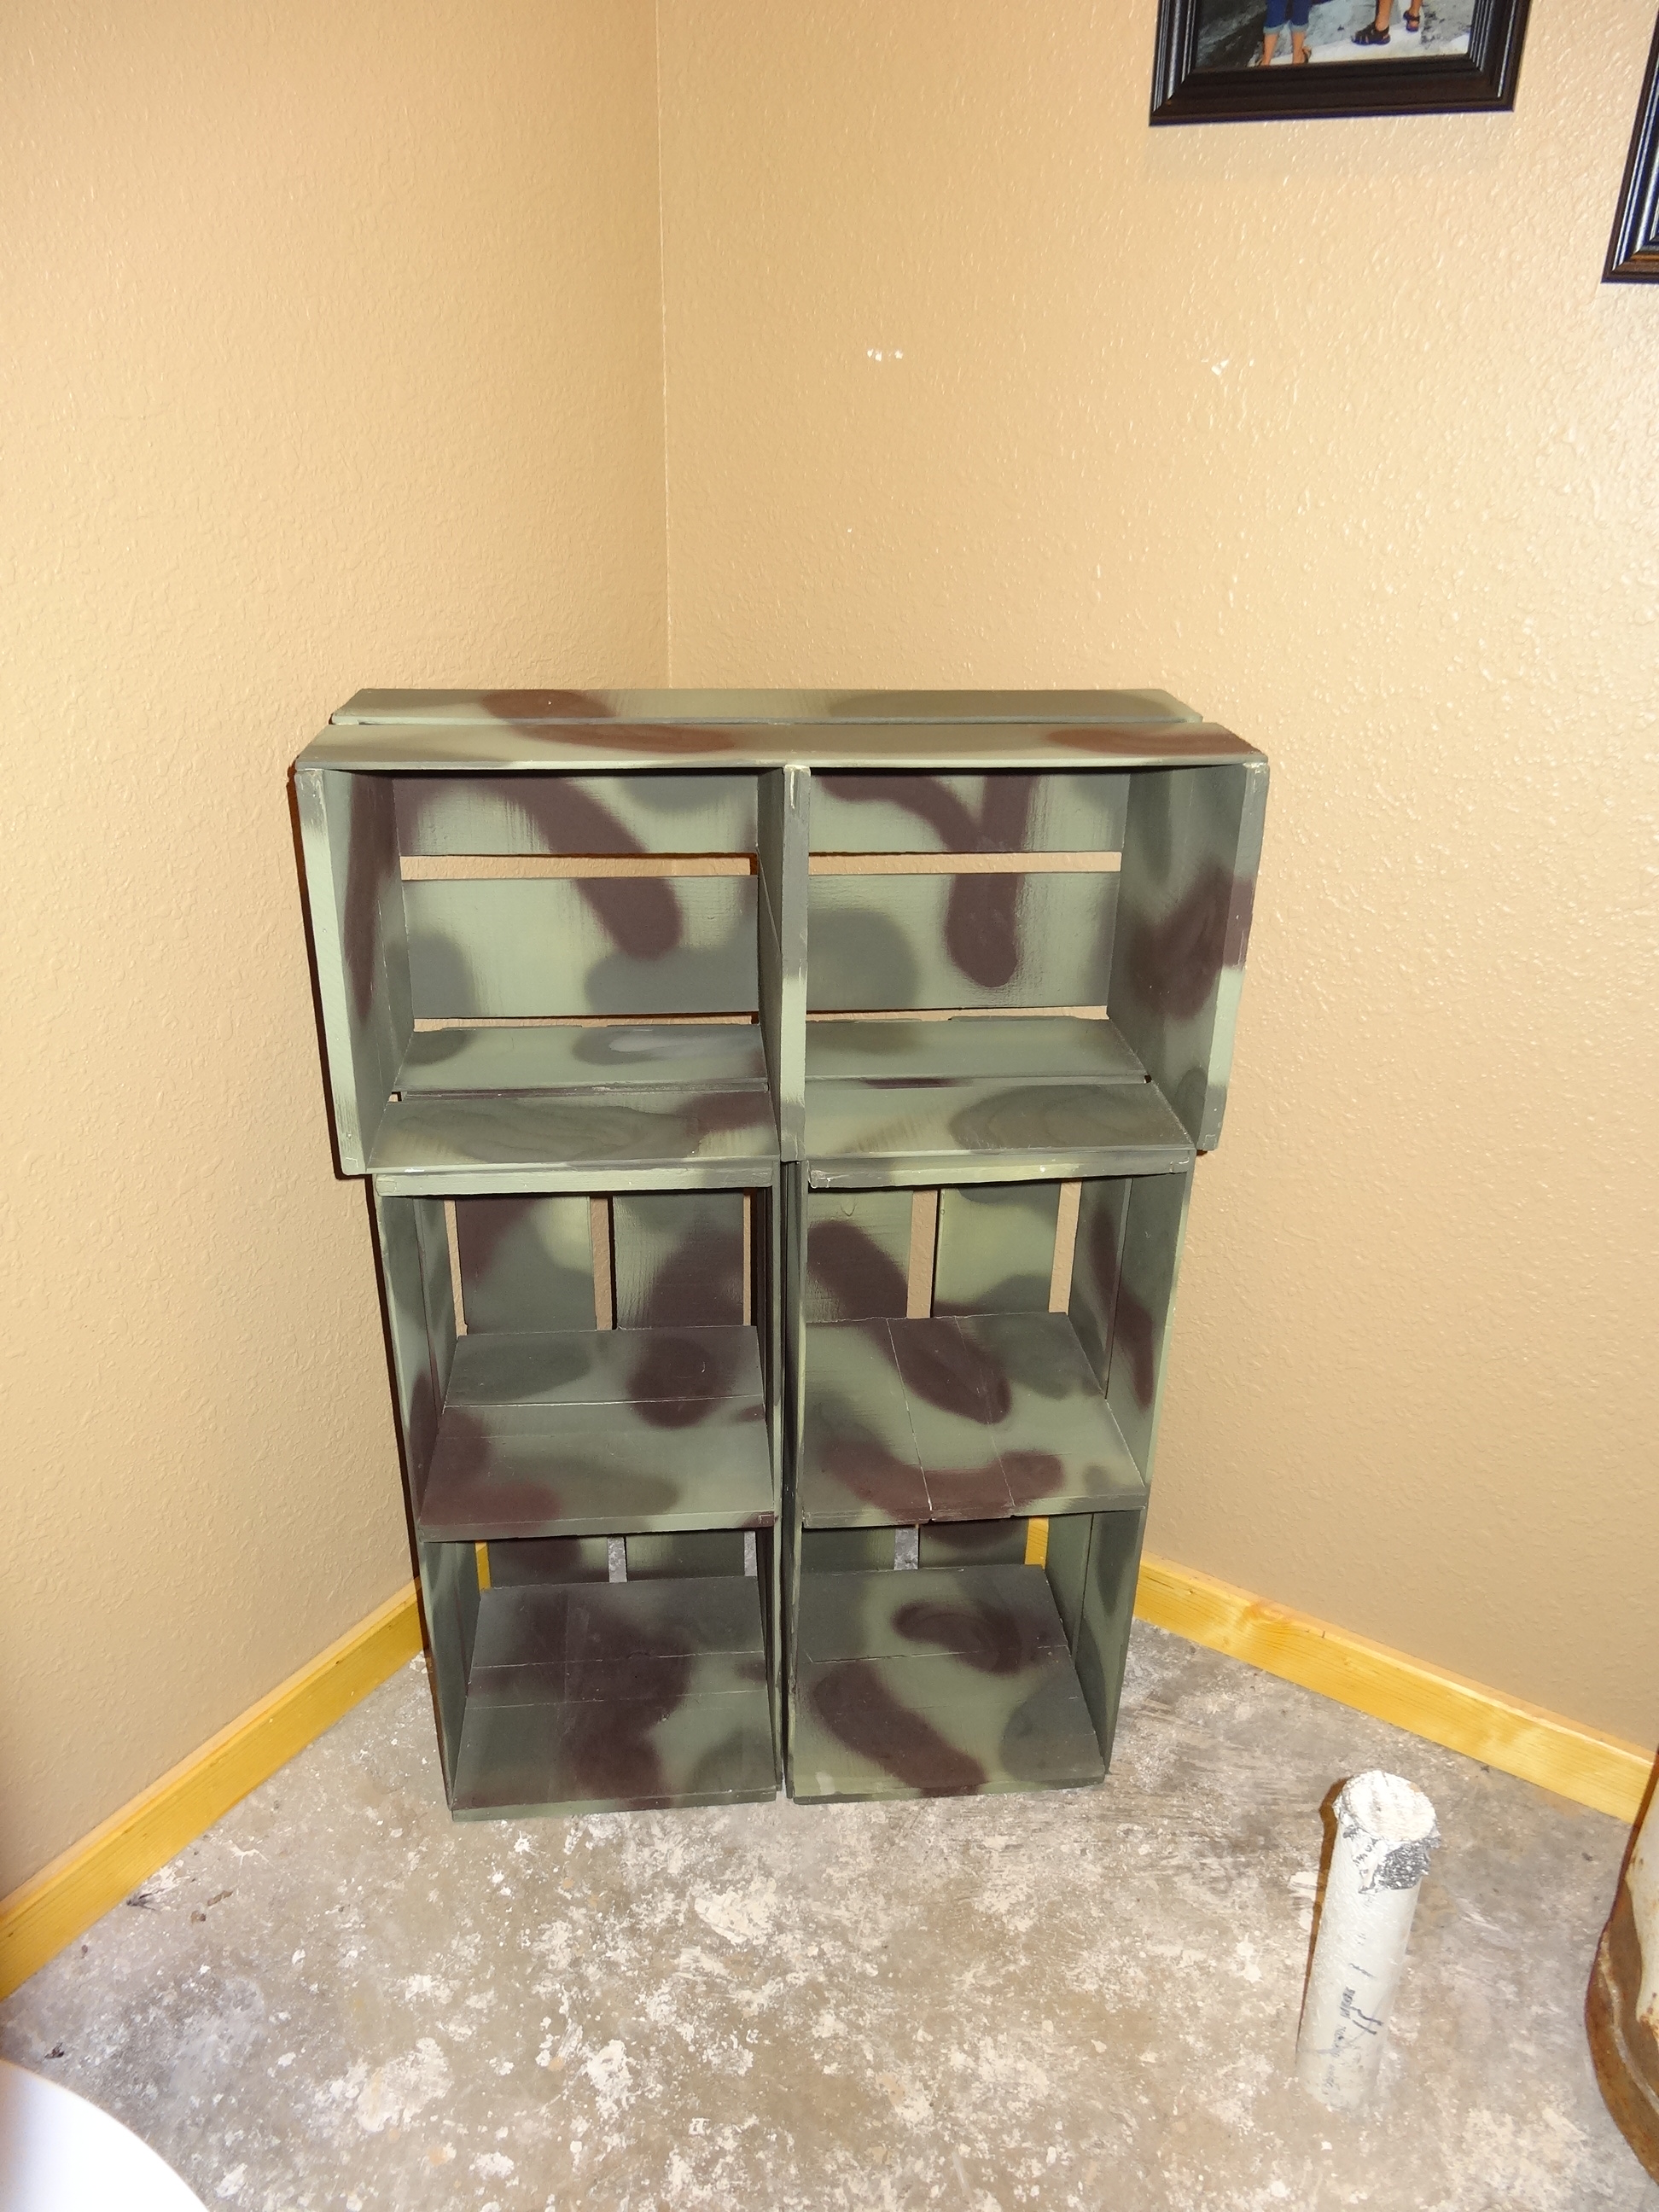
The picture above is the finished product. Keep in mind a few things: like, this is the bathroom at the shop, hence the stubbed in shower pipe that doesn’t have a shower on it that you see in the foreground.
And, there’s deer antlers that are waiting patiently for their use in another project which requires power tools.
My husband doesn’t allow me to use power tools. (This is in my own best interest. Really.)
So, eventually one of the guys will help me with that particular project, and they won’t be on the floor anymore. But I digress.
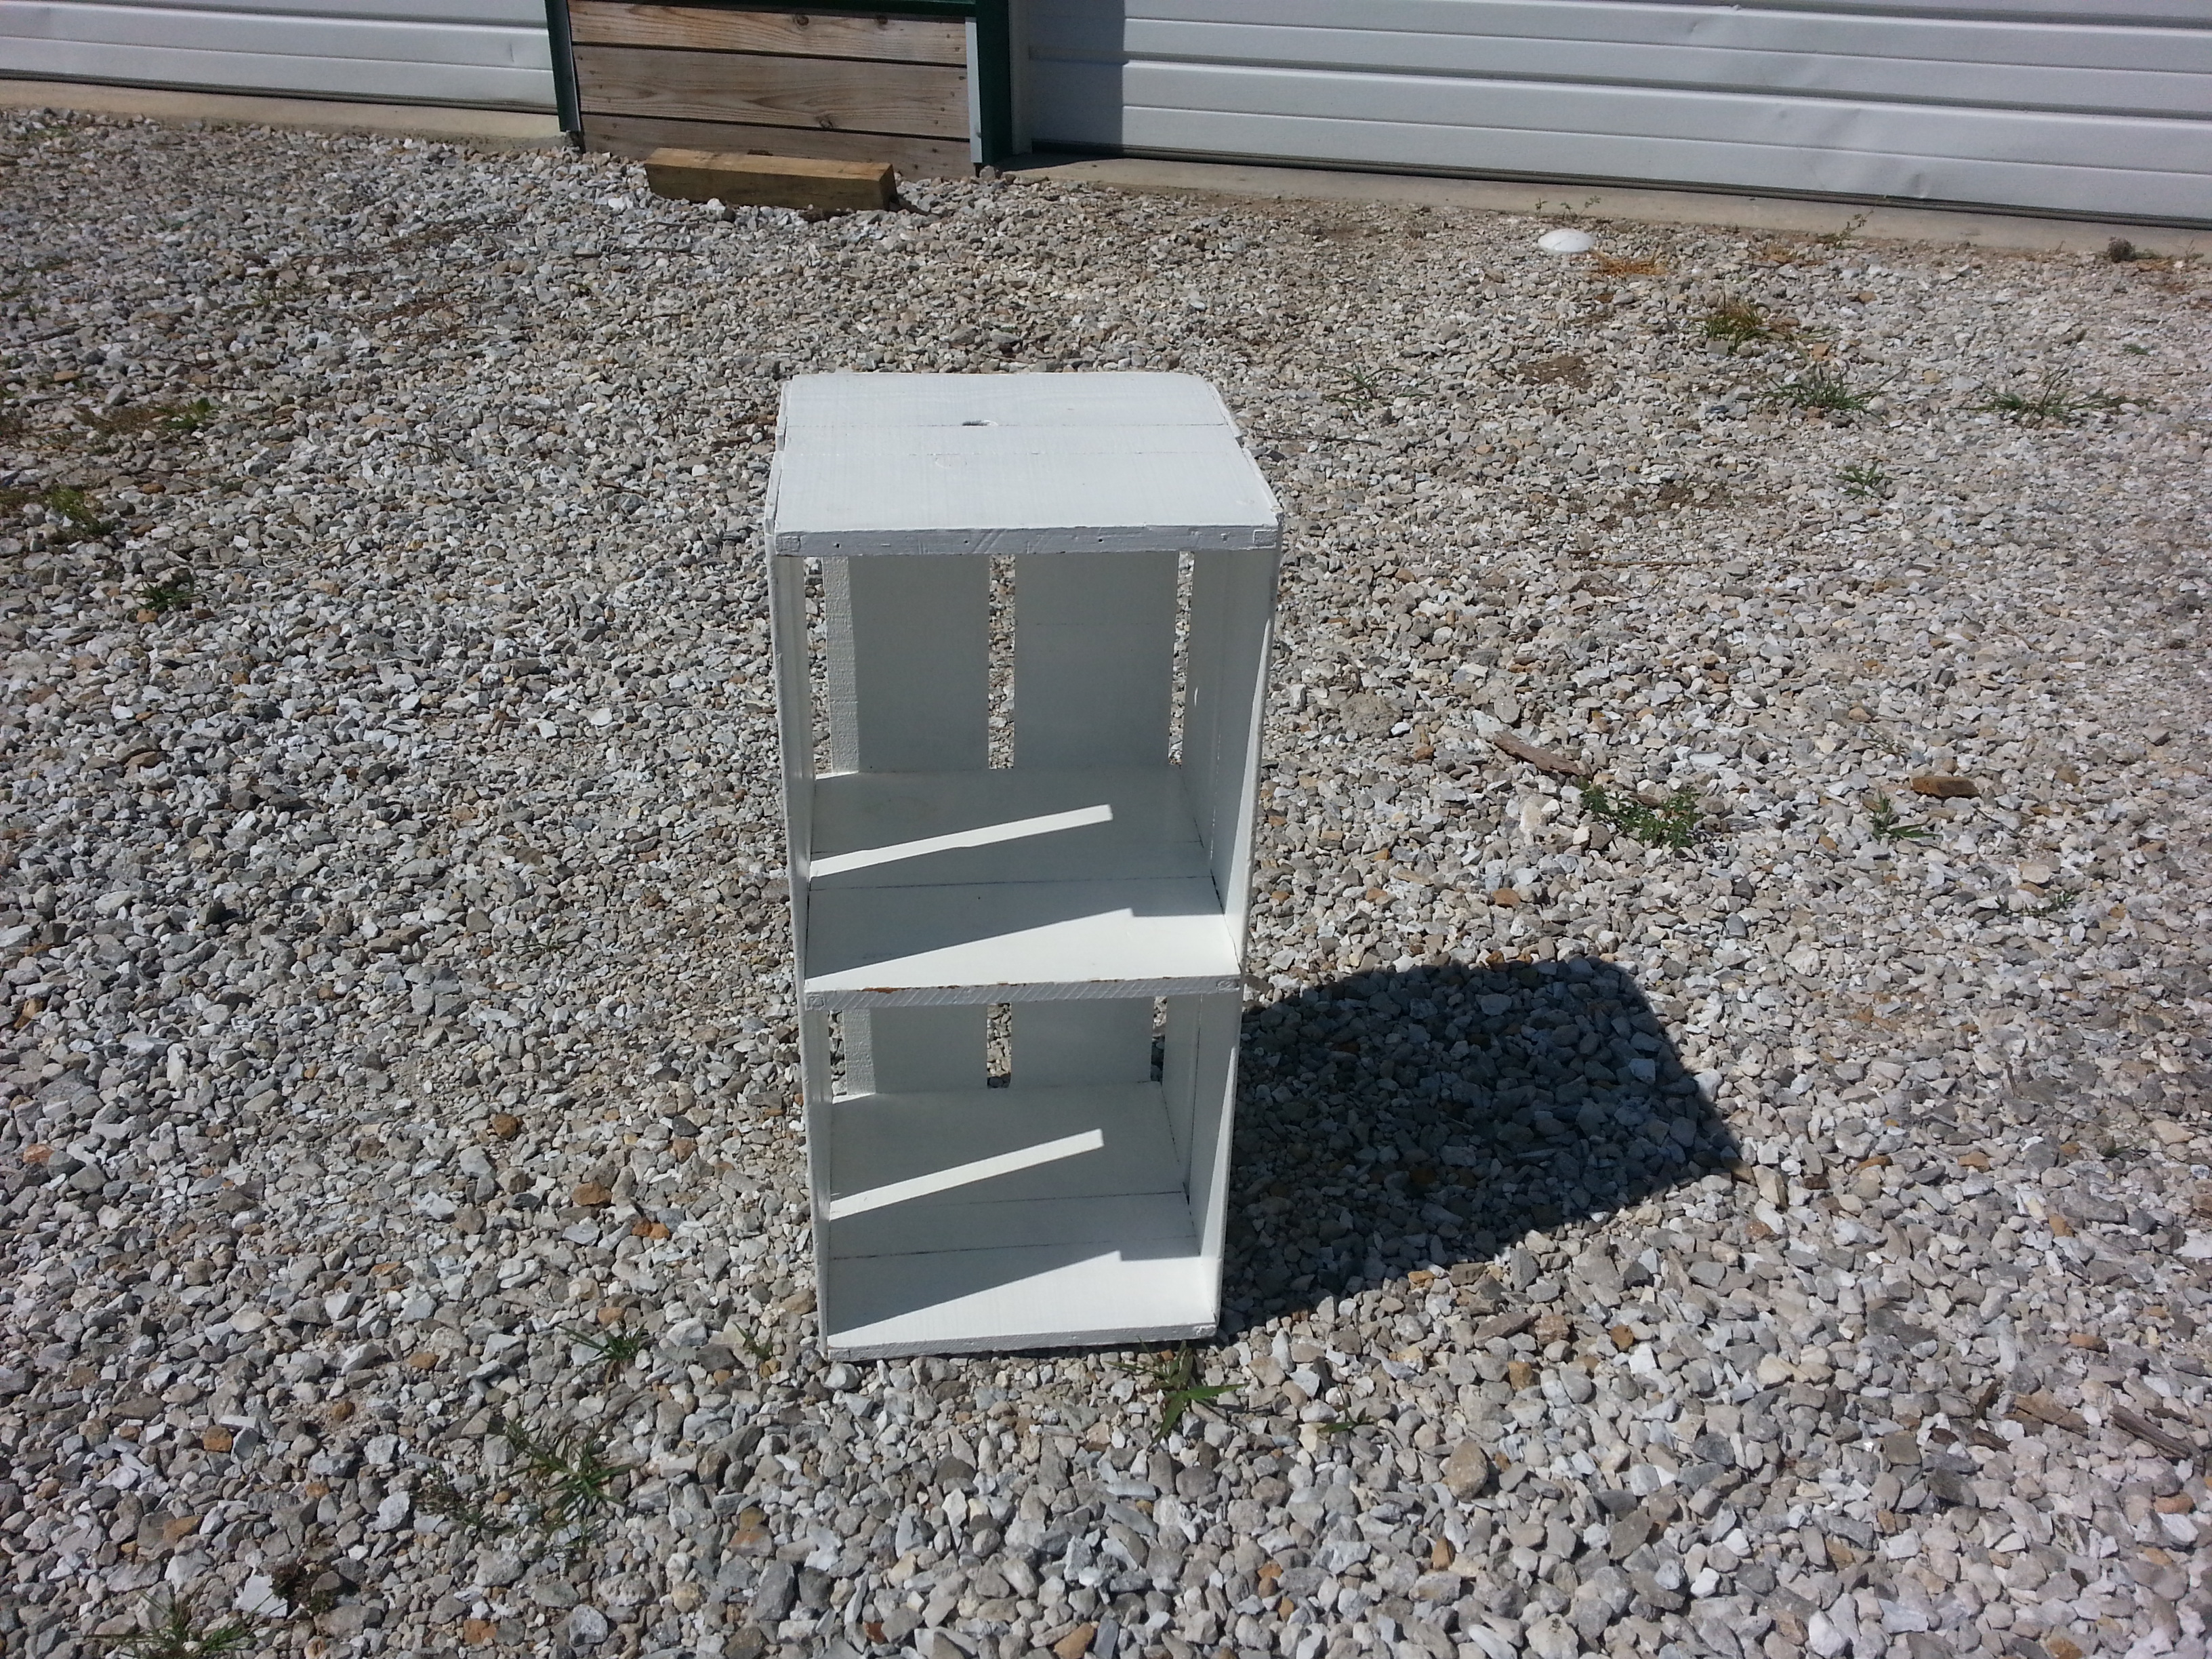
These shelves began their life as crates that held oranges which, as far as I know, someone brought home from Florida. They resided in my parents basement for years.
My mom, always the crafty sort, suggested we paint them to use as shelves in my college dorm room. During my college years in the dorm and various apartments, they were several different colors.
If any of my college friends are reading this right now: do you remember them? 😀
They moved cross-country with me to Las Vegas and resided comfortably in my garage for years.
They moved back here with me in the late 90’s, and have spent the last ten years holding my resource collection of magazines in the basement.
Until we needed shelves for our shop.
And, because it’s a shop, I didn’t want to invest a lot of money. I challenged myself to ‘shop my basement’ and be creative.
Hence, the orange crates. And, since I already had a camo lamp shade, and plans for those deer antlers, camo seemed to be the way to go.
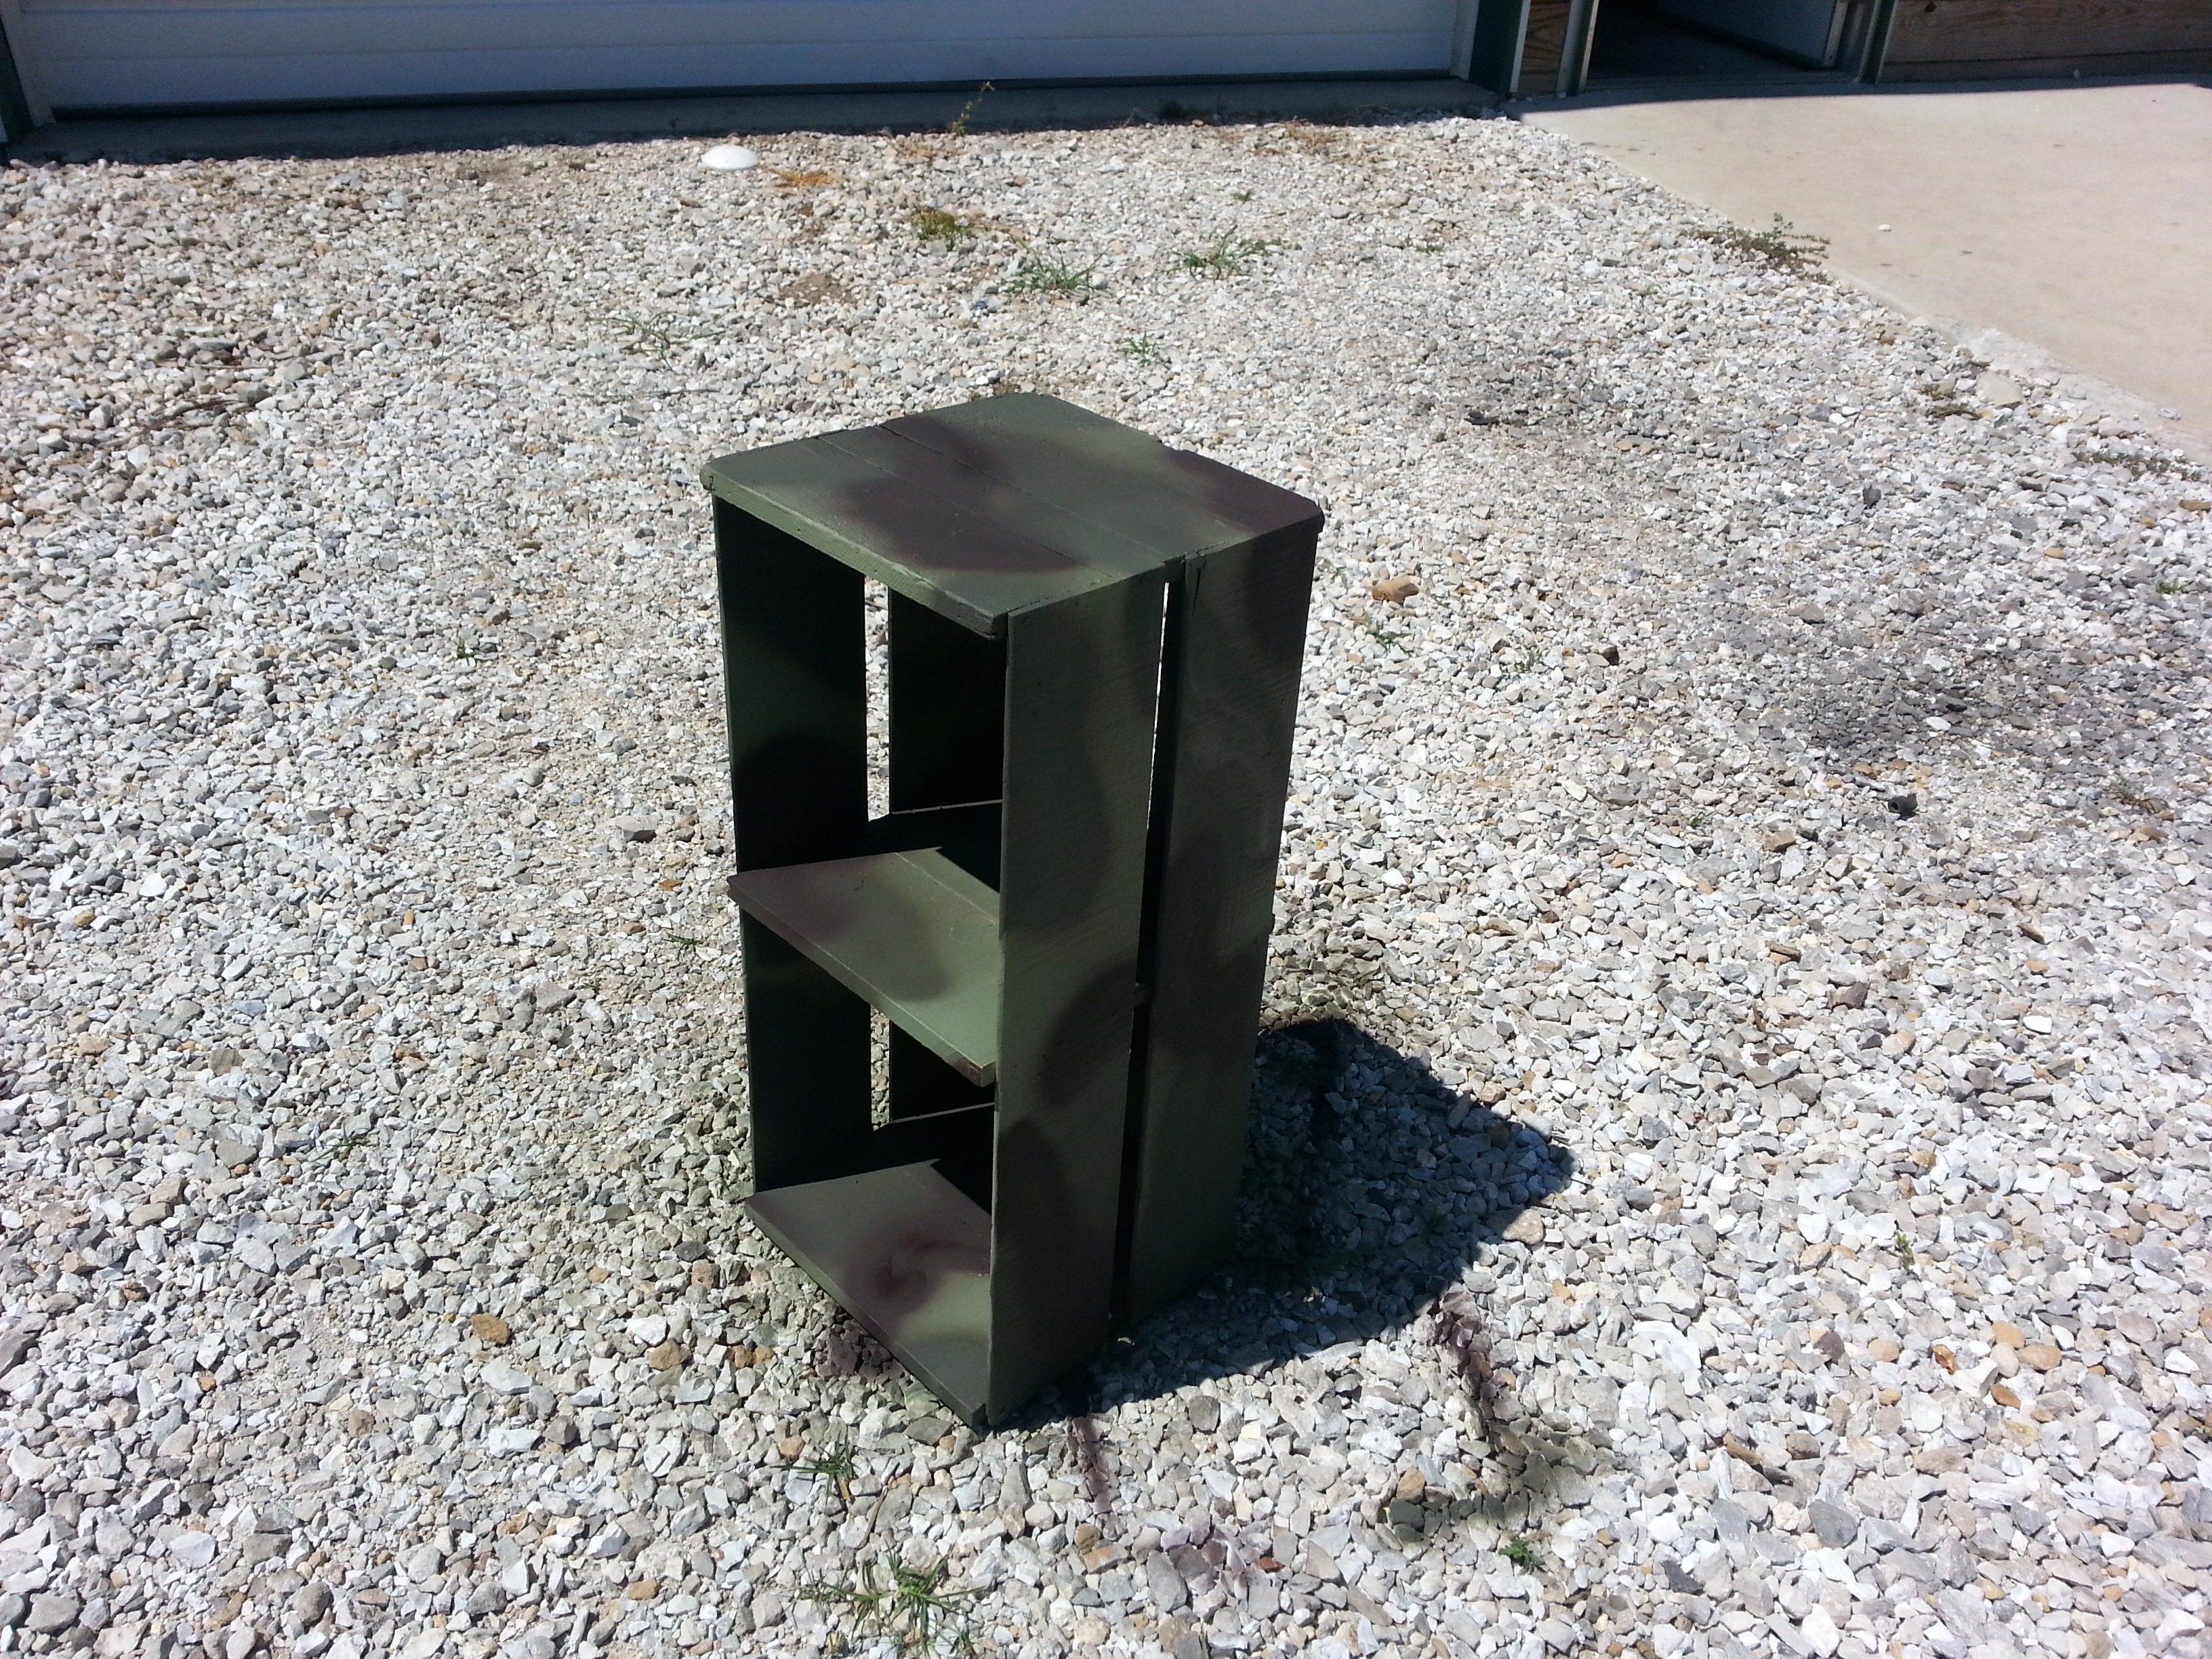
It really wasn’t that hard to paint them.
I just picked up 3 coordinating camo colors; the lightest color was the primary color. Then add to that the other two secondary colors; the darker of the two had the minimal coverage.
Like, in really random patterns.
They aren’t perfect, but then I wasn’t striving for perfection. After all, it’s a shelf, which means it’s going to be holding stuff.
You gotta have perspective here. 😉
What I love about these shelves is that you aren’t limited to positioning them in one way. You can position them in whatever way blows your skirt up.
At first, I positioned them in a very basic, traditional way.
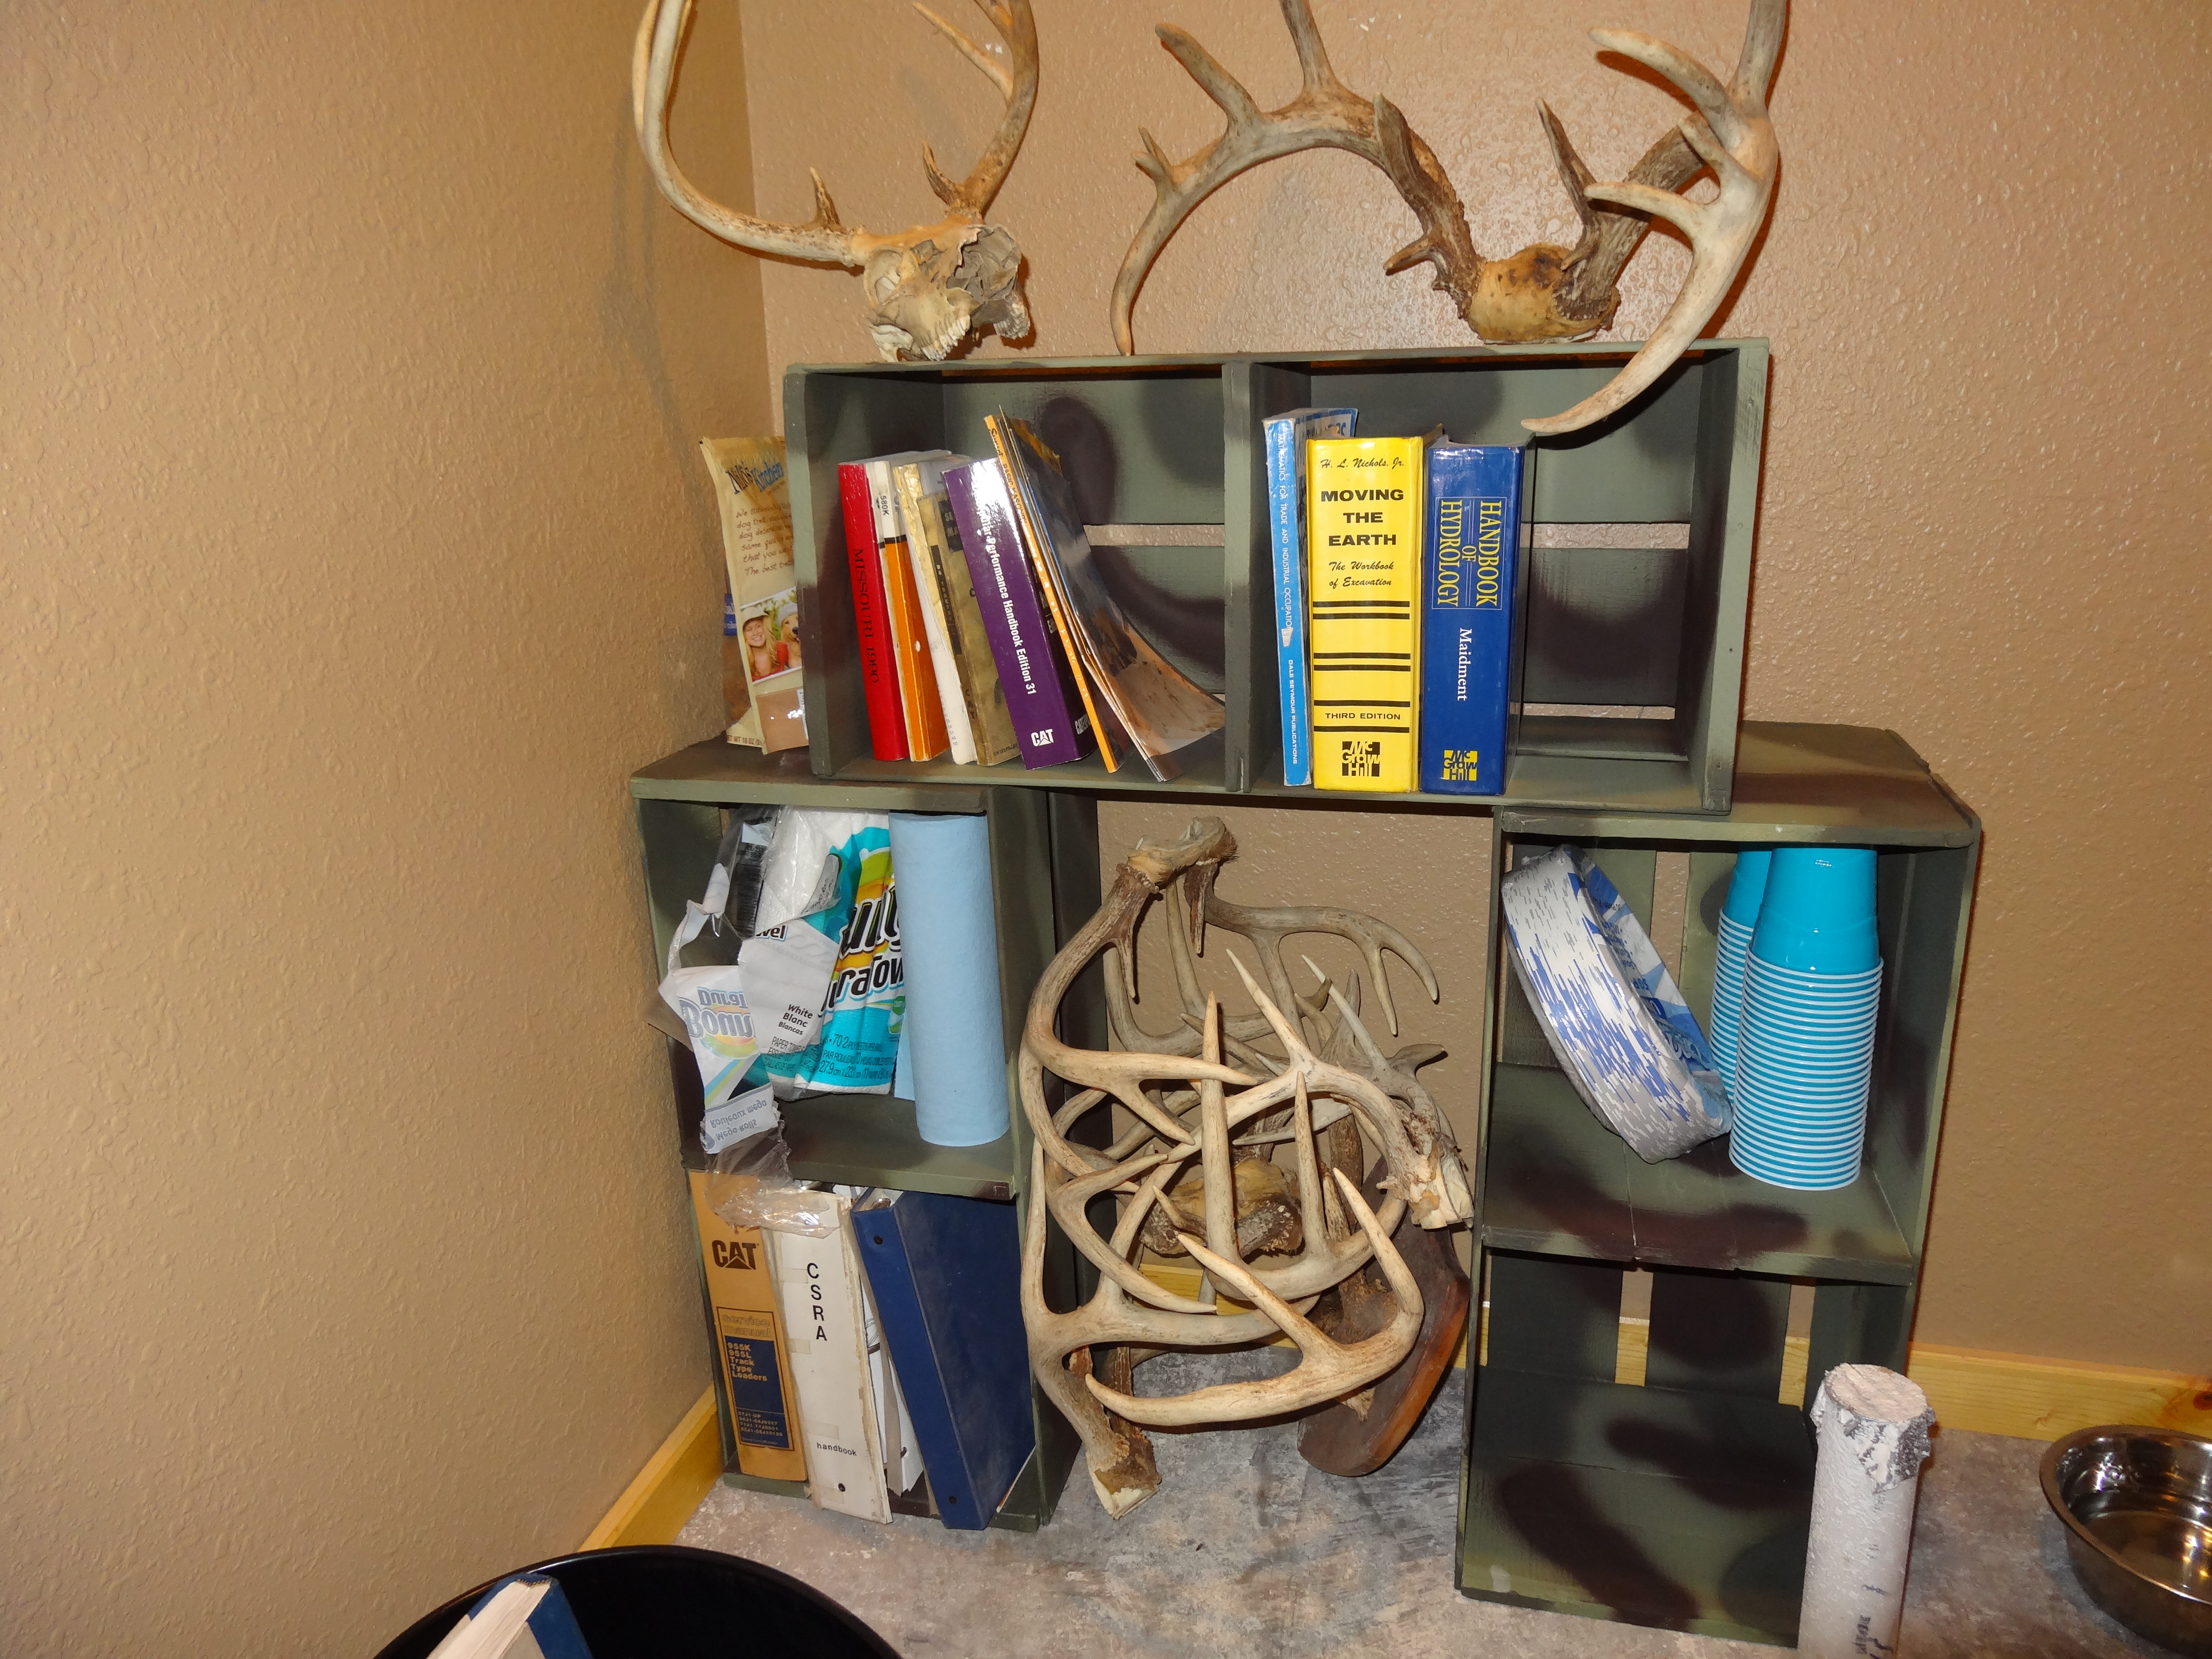
But then I decided to change it when I went to take pictures for this post. They are currently sitting like they are in the picture at the top of this post. In case you forgot, I’ll post it again. I really like this set-up. 🙂
But you could also position them like this:
Or like this:
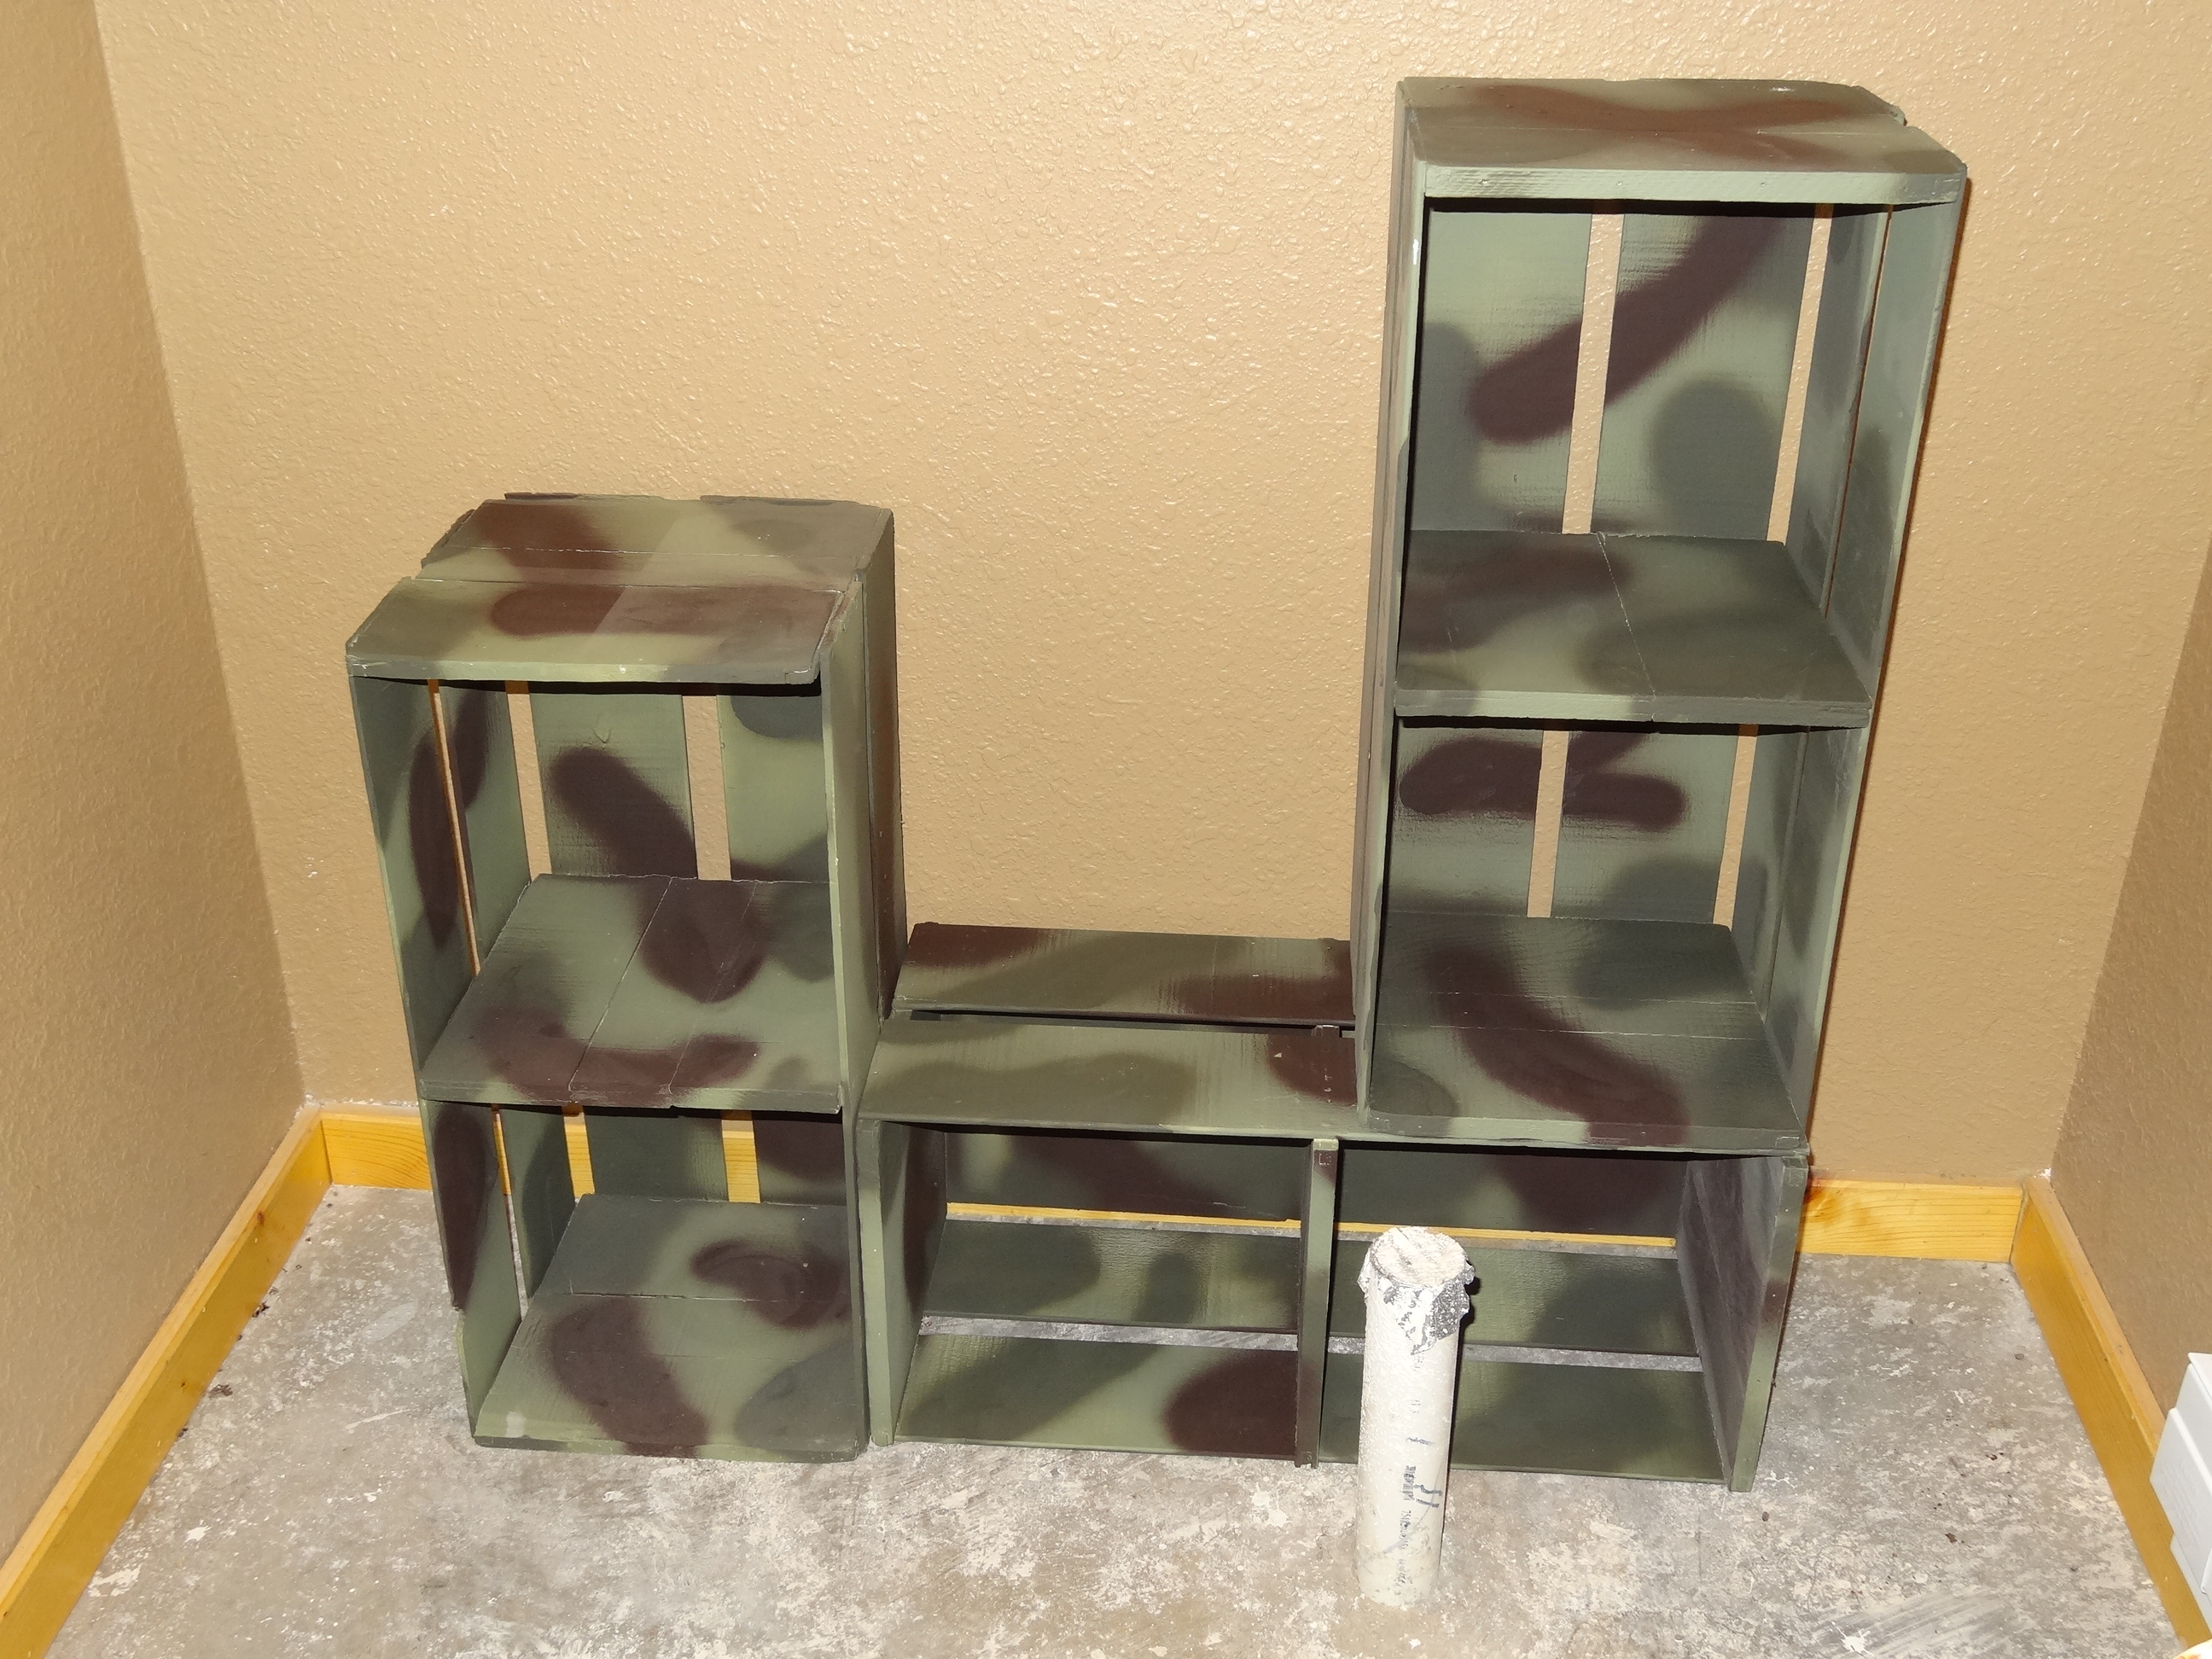
Or even like this:
 I think that sort of gives it a modern look.
What about this one?
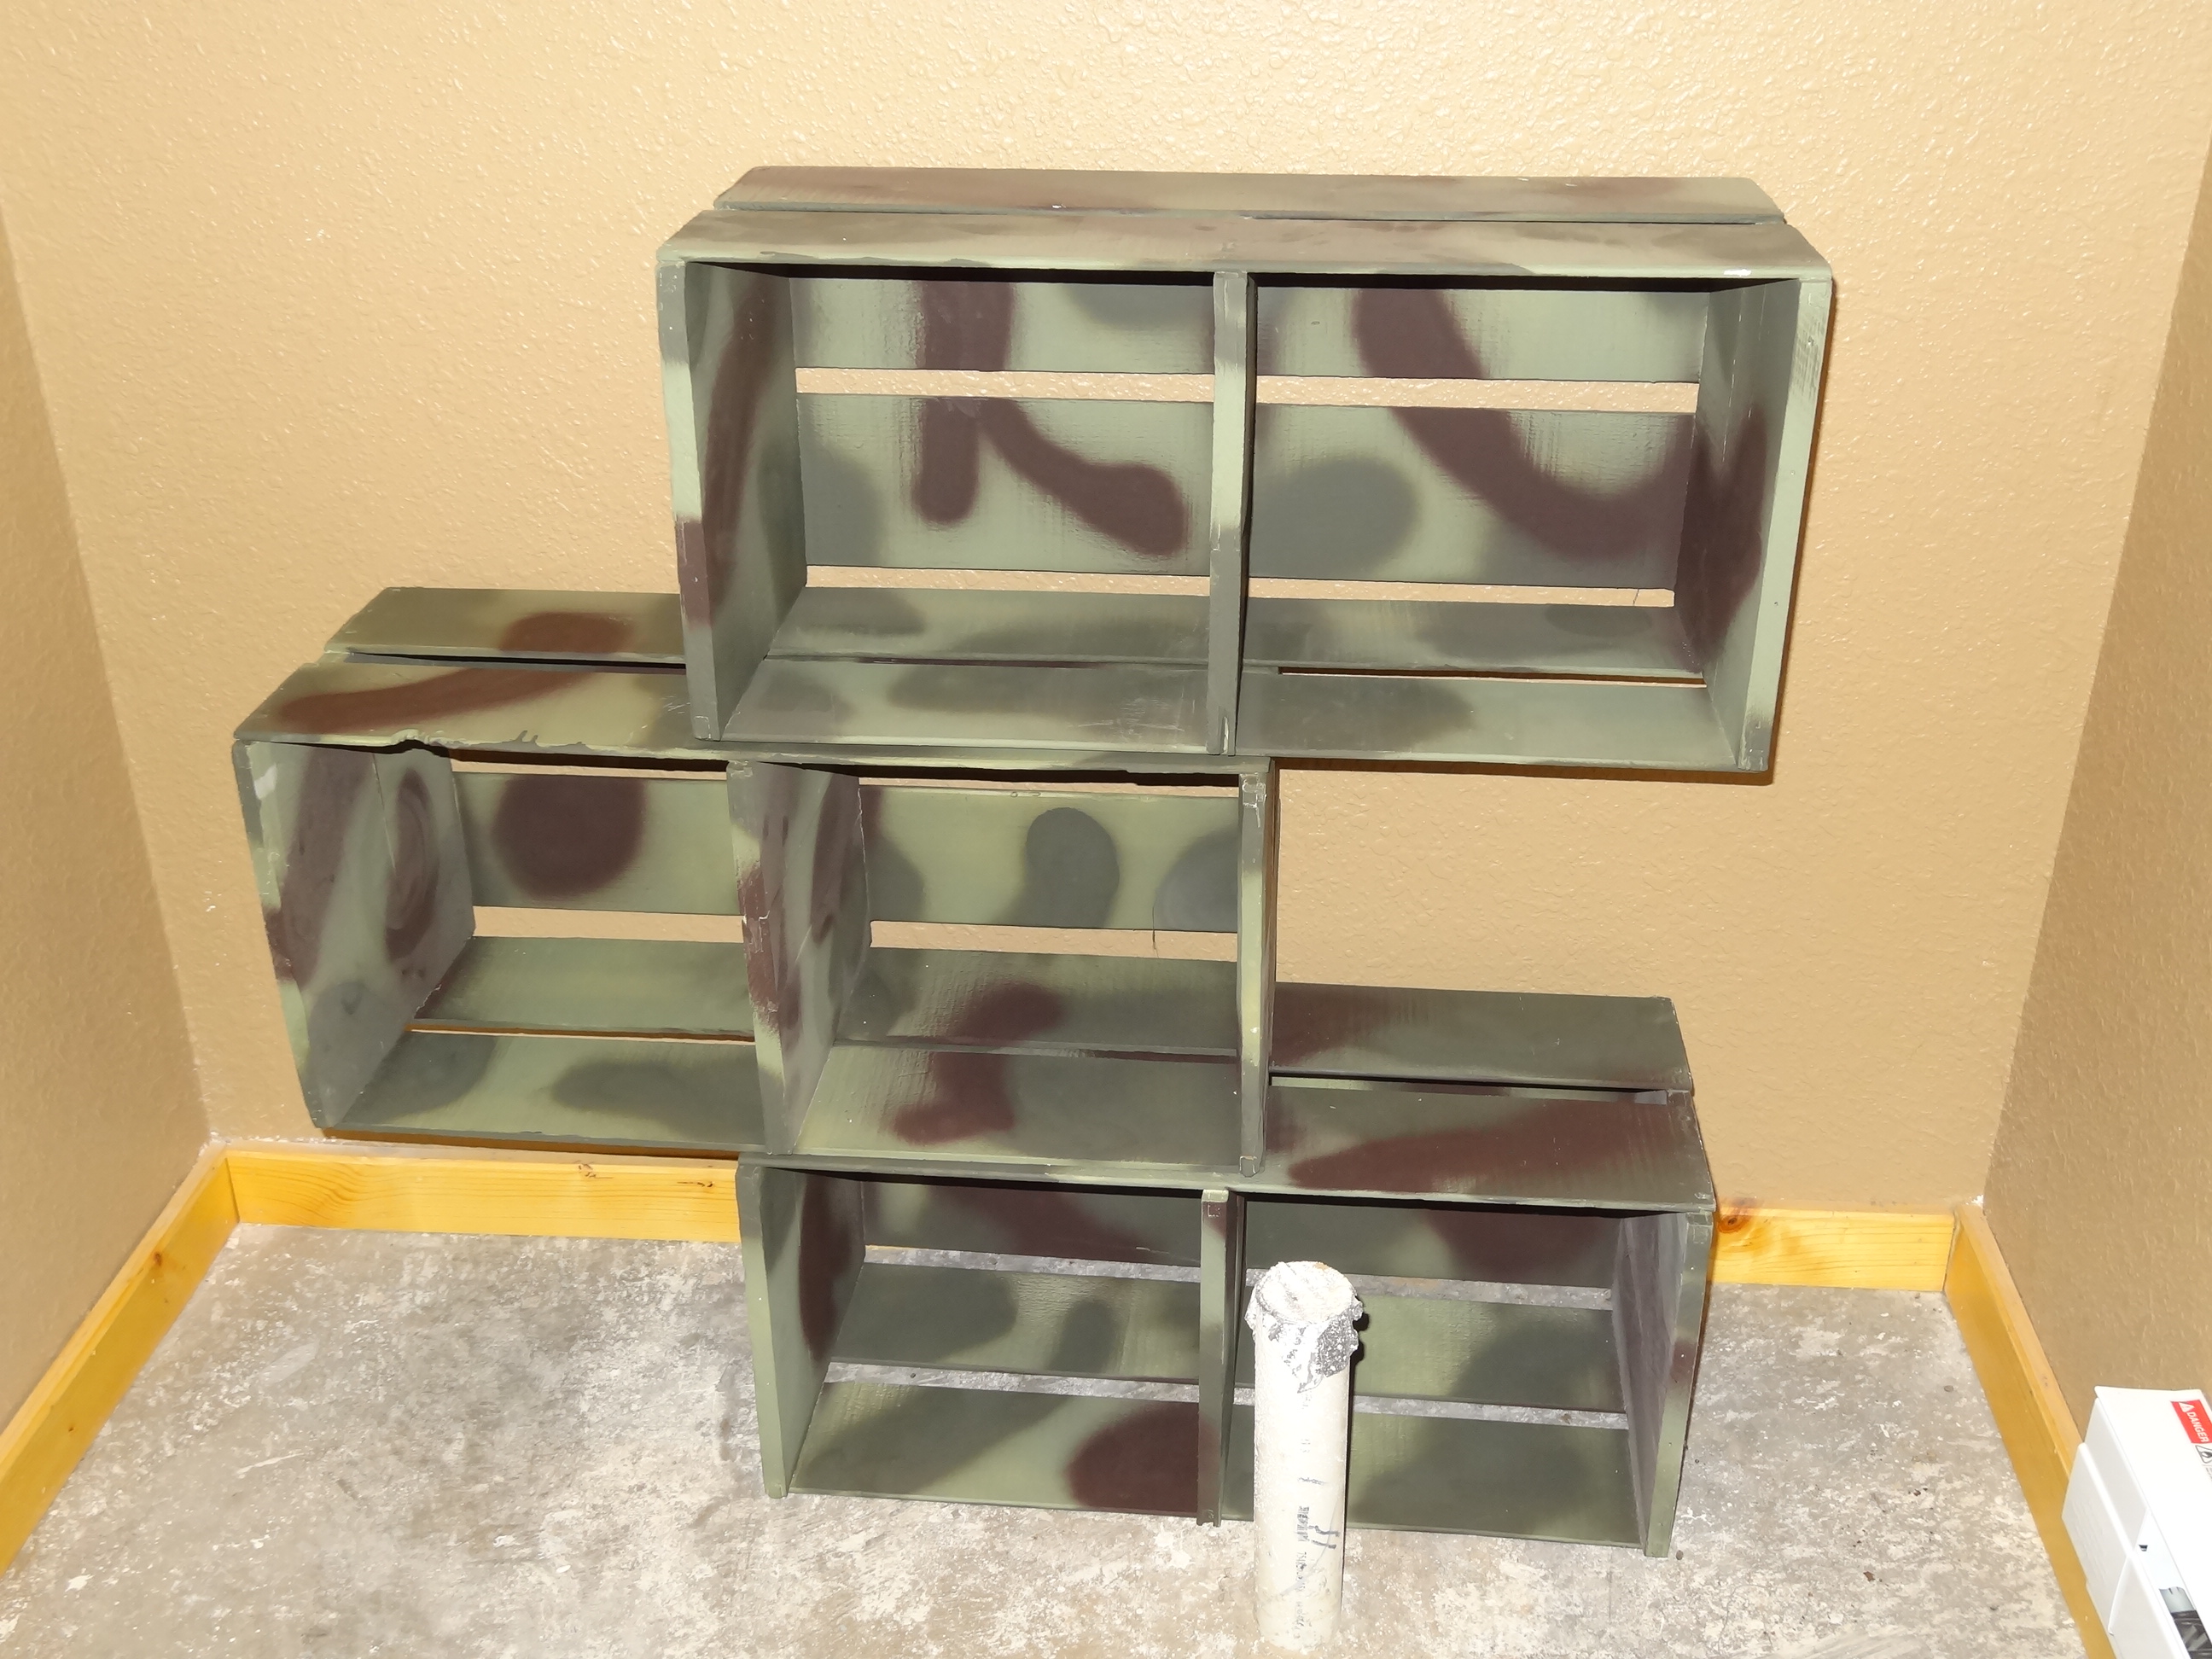 I think the look of it is really cool, but I would recommend attaching the crates to one another; otherwise, you’re going to be doing a balancing act with your stuff.
The beauty of this is you can set them up to suit your needs, or simply whatever trips your trigger!
I was happy with the way the project turned out, and they suit our needs perfectly. Even better, my husband loves them too.
And all from re-purposed junk. 🙂
I wish you inspiration, beautiful weather, and all the right paint colors!
